How to Use Seedance 4.0: Step-by-Step Guide
Learn how to use Seedance 4.0 to generate cinematic AI videos from text, images, and audio, then automate the whole workflow with APIMart unified API.
Seedance 4.0 is ByteDance's advanced AI video creation platform. It allows you to generate cinematic-quality videos in just 30–90 seconds using text, images, audio, or video inputs. The platform supports up to 15-second clips in 2K resolution with synchronized audio, making it ideal for social media, marketing, education, and storytelling. Here's what you need to know:
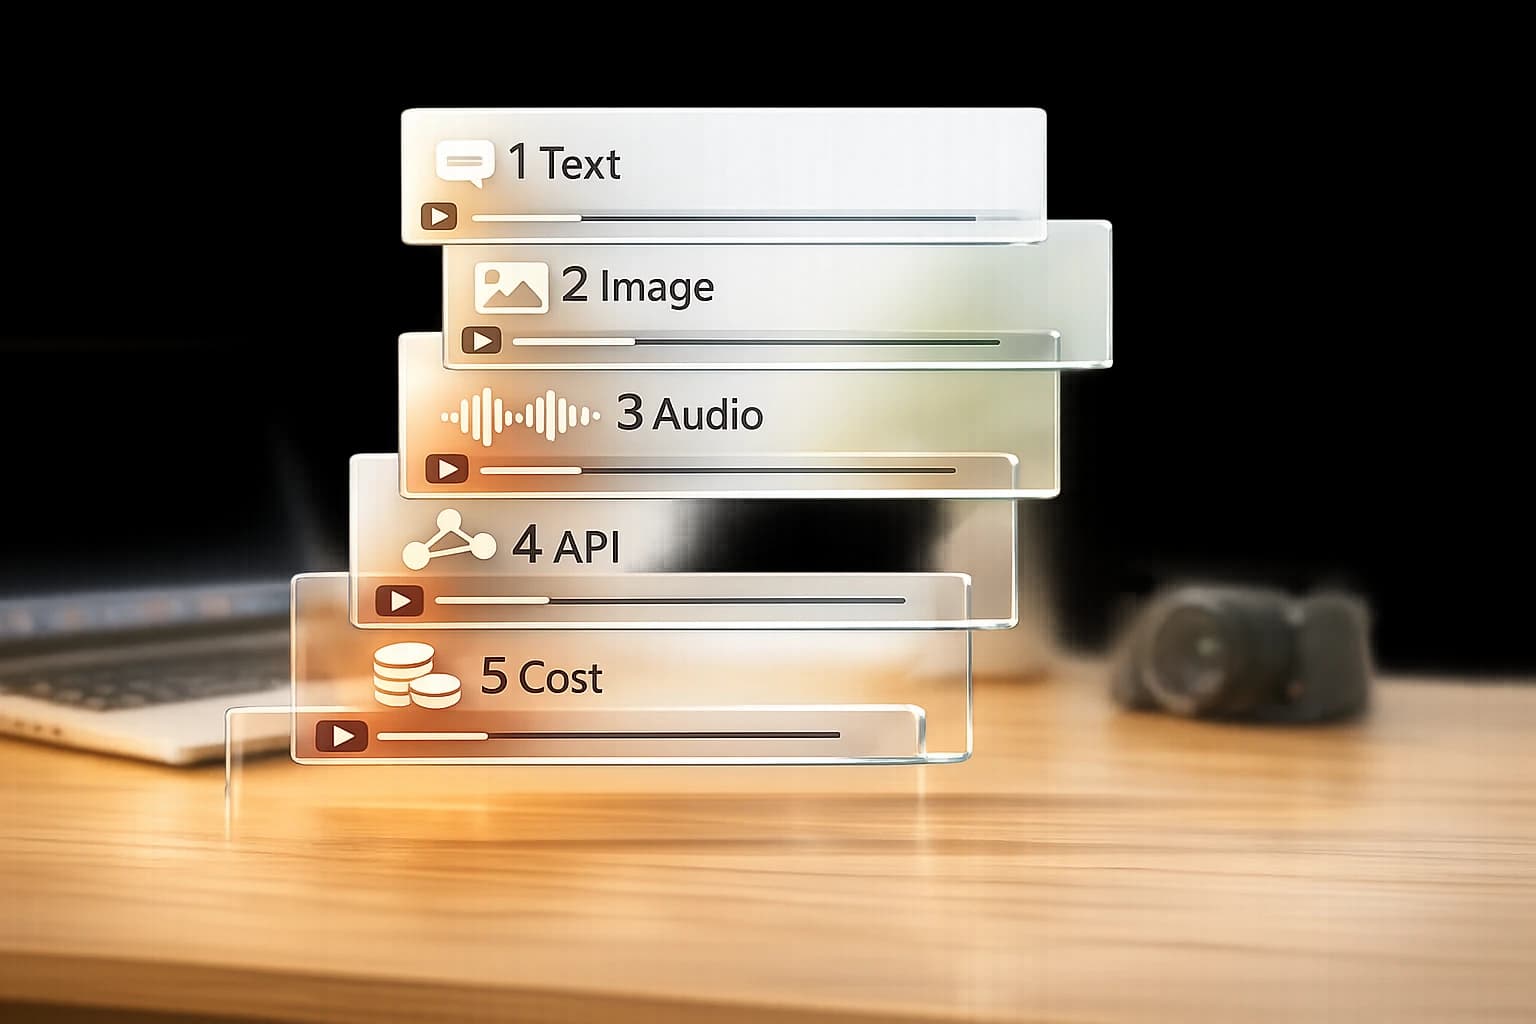
- Key Features: Process up to 9 images, 3 video clips, and 3 audio files in one project. Supports 16:9, 9:16, and 1:1 aspect ratios.
- Cost: Less than $1 per 8–10 second video through its API, with plans starting at $17.90/month.
- Ease of Use: Accessible via web browser, no downloads needed. Offers Text-to-Video, Image-to-Video, and Multimodal workflows.
- API Integration: Works seamlessly with APIMart for automated pipelines.
To start, sign up with your email, explore the free tier, and use the intuitive interface to create videos. For best results, craft clear prompts, tag reference assets, and optimize technical settings like resolution and motion strength. Whether you're producing ads, lessons, or short films, Seedance 4.0 simplifies the process.
Getting Started with Seedance 4.0
Account Setup and Access
Getting started with Seedance 4.0 is simple. You can register using an email address, Google account, or Discord account [1]. Once you sign up, you'll receive a verification email - just click the link inside to activate your account and access your free starter credits [1]. Be sure to use your primary email address instead of a temporary one to avoid any issues with verification [9].
When setting up, select the United States as your region. This ensures your billing is processed in USD and that the correct terms of service apply to your account [9]. After verification, you can dive right in and create your first video without needing to add a credit card on the free tier [8].
If you decide to upgrade later, payments are securely handled through Stripe, which accepts all major U.S. credit and debit cards [11]. It's a good idea to explore the free tier during your first week to see how many credits your typical workflow requires before committing to a paid plan [9].
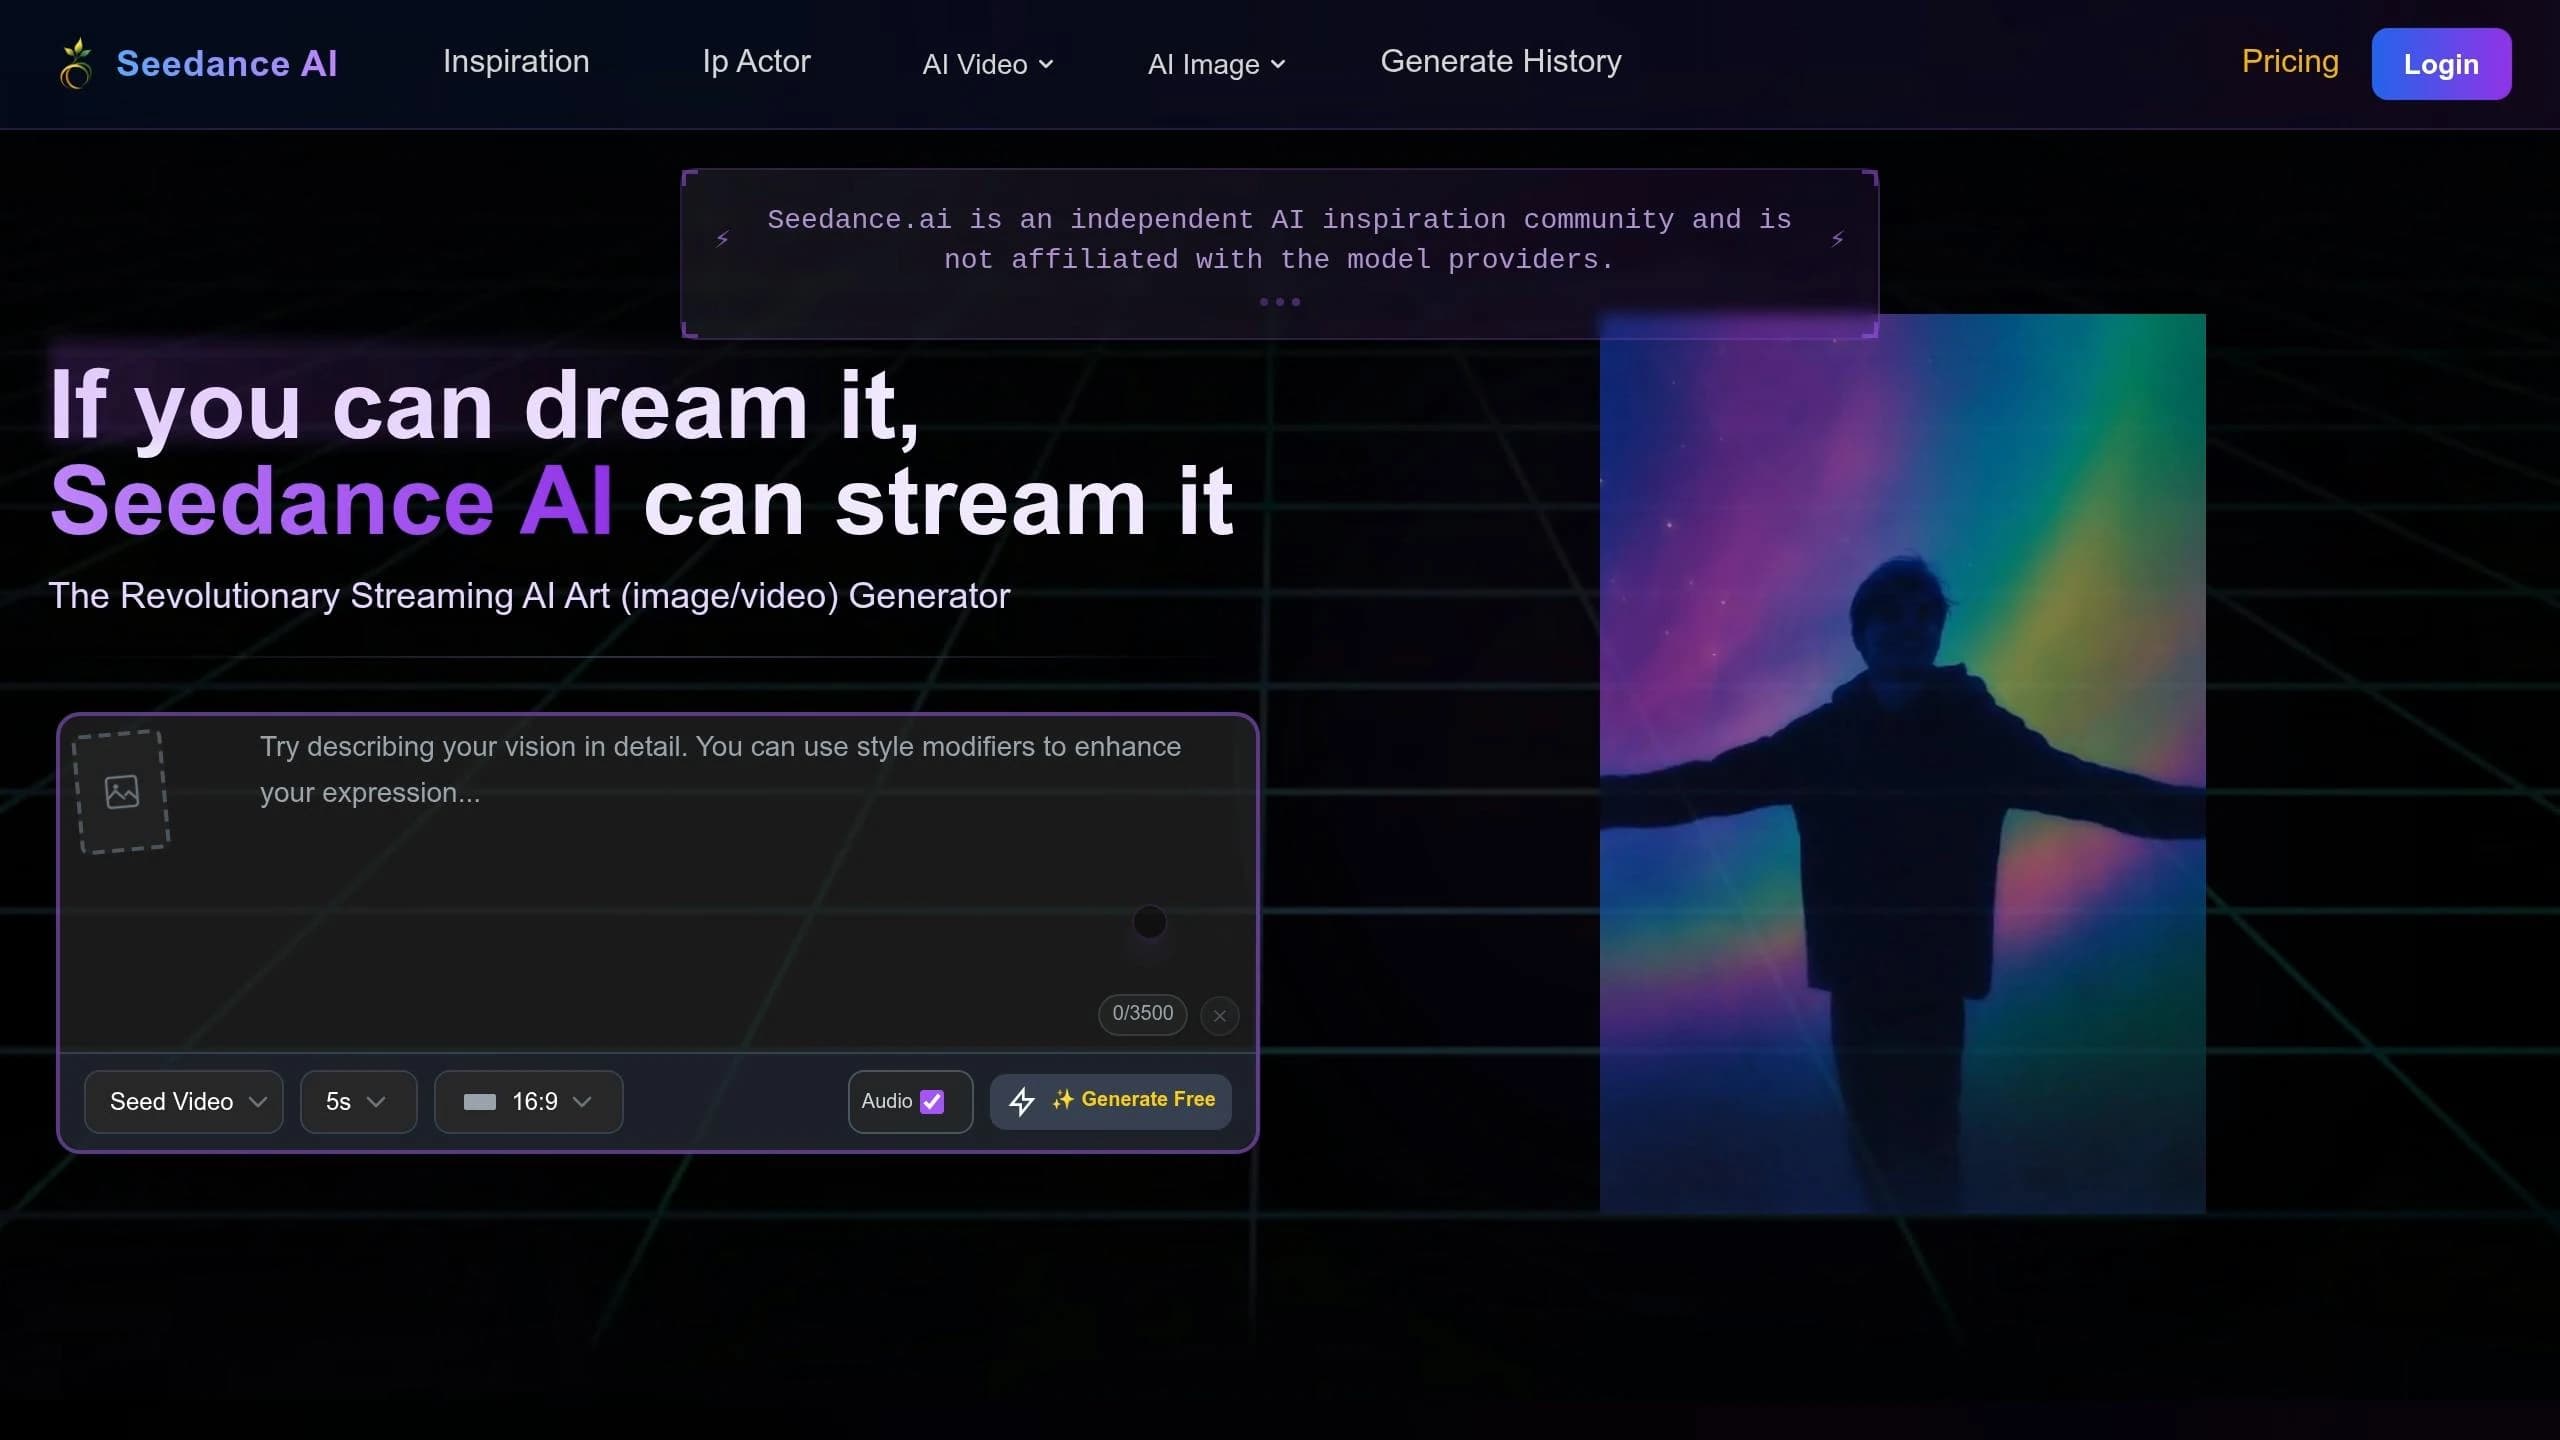
Once your account is up and running, you can start exploring Seedance 4.0's user-friendly browser interface.
Orientation to the Interface
Seedance 4.0 operates entirely in your web browser, so there's no need to download or install anything [6]. For the best experience, use a laptop or desktop, as these devices provide better visibility and control [9].
The interface is divided into five main sections:
| Area | Location | Purpose |
|---|---|---|
| Navigation Bar | Top | Access Dashboard, Create, Gallery, API tools, and Billing [1] |
| Generation Panel | Left | Select modes, input prompts (up to 800 characters), and upload files [1][6] |
| Settings Panel | Right | Adjust resolution, duration, aspect ratio, and motion intensity [1] |
| Preview Window | Center | View active generations and playback completed clips [1] |
| History Sidebar | Bottom | Quickly access your previous creations [1] |
The Generation Panel is where most of your work happens. Here, you can choose between three modes - Text-to-Video, Image-to-Video, and Multimodal. Once you've picked a mode, you can enter a prompt and upload any reference files. A standout feature is the @ Reference System, which tags each uploaded asset automatically (e.g., @image1, @video1). These tags can be used directly in your prompts to guide the AI on specific character appearances or motion paths [1][10]. This system is particularly helpful for managing complex multimodal workflows.
Over on the right, the Settings Panel allows you to fine-tune your output before generating. Pay attention to the aspect ratio - 9:16 for TikTok or Instagram Reels, 16:9 for YouTube, or 1:1 for Instagram posts - as changing the ratio afterward can reduce quality [1]. You can also choose resolutions ranging from 720p to 4K. For beginners, 1080p is often the best choice since it balances high visual quality with faster generation times [1].
Watch: Full Seedance Workflow Walkthrough (1080p)
Step-by-Step Seedance 4.0 Workflows
Get started with Seedance 4.0 by exploring its three main workflows. Whether you're working with text, images, or audio, these workflows are designed to help you create stunning videos with ease. Here's how each one works:
Text-to-Video Workflow
Start by selecting Text-to-Video and entering a short prompt (up to 800 characters) [6]. A well-crafted prompt is essential for great results. Try using this structure: [Subject] + [Action] + [Environment] + [Camera Movement] + [Style/Lighting] [1][10]. For instance: "A barista pours latte art in a sunlit café, slow dolly in, cinematic warm tones."
Use precise camera instructions like "dolly in", "pan left", "rack focus," or "orbit" for clarity. Stick to the One-Action Rule to avoid distorted motion - each clip should focus on just one main action [10]. Once you've set your output preferences, click Generate. Your video will typically be ready in 30–90 seconds [1][6].
When you're ready, move on to the next workflow to explore other input options.
Image-to-Video Workflow
To animate an image, upload your file (JPG, PNG, or WEBP) and provide a motion prompt describing how the image should move [1]. Use the @ Reference System to specify roles, like: "Reference @image1 for the character's appearance throughout the clip" [12][14]. This ensures the AI follows your guidance accurately.
For character-focused videos, mid-shot portraits with simple or transparent backgrounds work best. Transparent PNGs are especially helpful as they keep the focus on the subject [10]. If the character needs to perform complex movements, such as turning their head, upload 2–4 images from different angles to maintain consistency and avoid face drift [10].
Fine-tune the motion strength for better results:
| Motion Strength | Best For | Effect |
|---|---|---|
| 0–25% | Portraits, product shots | Subtle, minimal movement |
| 30–50% | Standard scenes, landscapes | Smooth, natural motion |
| 60–80% | Action scenes, sports | Energetic, dynamic motion |
| 90–100% | Experimental | Chaotic or exaggerated movement |
"The difference between a mediocre Seedance output and a jaw-dropping cinematic clip usually isn't the model itself. It's whether you know how to talk to it." - Pixo [10]
Once you're comfortable with this method, try the next workflow for audio integration.
Audio-Aware Video Workflow
This workflow combines audio and video creation, perfectly syncing dialogue, sound effects, and music. To use it, switch to Multimodal mode and upload up to 3 audio files (MP3 or WAV). Use the @audio1 syntax to reference each file in your prompt, and clearly define their roles - for example: "@audio1 is the background music; align camera zooms to the heavy bass beats" [12].
For dialogue or lip-sync, include spoken words in double quotes within your prompt ("The man said: 'Welcome home'"), so the AI can match facial expressions and mouth movements [2]. Keep audio clips under 15 seconds to ensure precise synchronization [7].
"Seedance 4.0 helps me create unique content daily. The native audio sync is a game-changer - no more post-production lip-sync editing for talking-head videos." - James Wilson, Social Media Manager [8]
Using Seedance 4.0 with APIMart's Unified AI API

Once you've got the hang of Seedance 4.0 workflows, it's time to pair it with APIMart's API to create fully automated video pipelines.
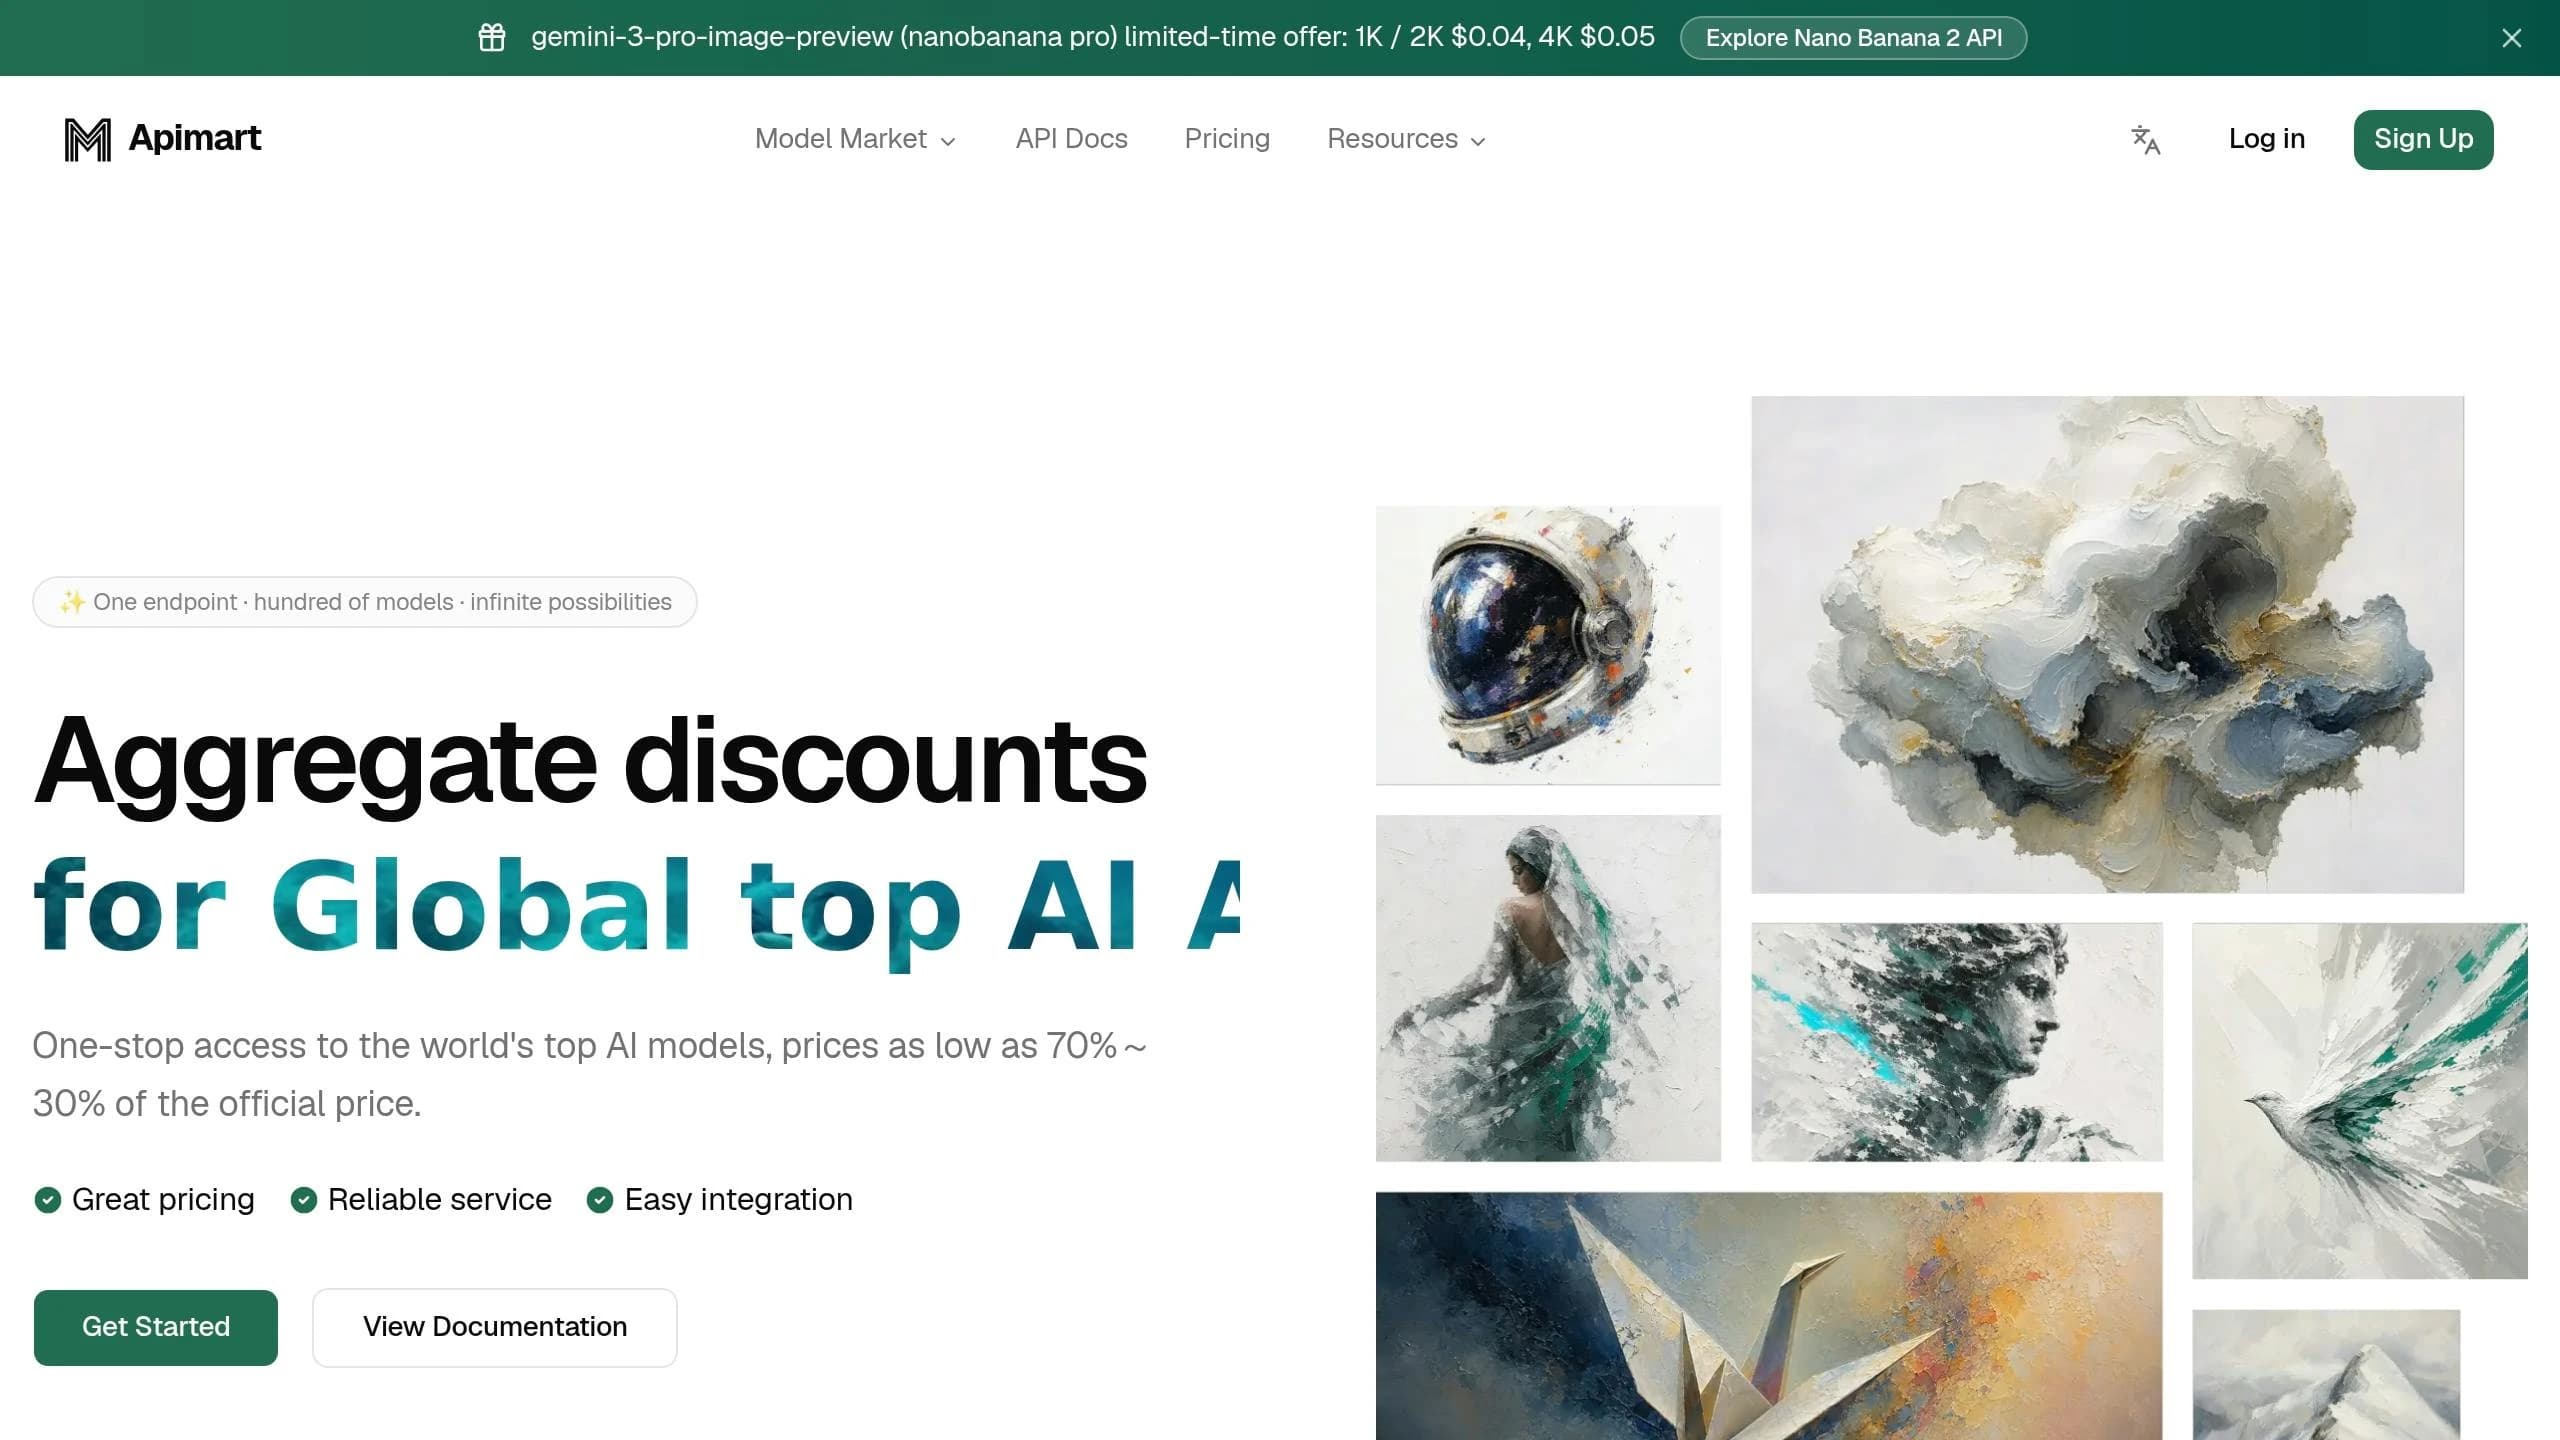
APIMart Overview and Supported Models
APIMart simplifies access to over 500 AI models through a single REST interface. For video generation, it supports the full Doubao Seedance suite, including doubao-seedance-2.0 (standard) and doubao-seedance-2.0-fast. Other high-performance options include Grok Imagine Video for text-to-video generation. There are also specialized "Face" variants tailored for character-focused clips [15][16]. All video generation processes are handled via one endpoint: https://api.apimart.ai/v1/videos/generations.
The API uses an asynchronous task pattern. When you send a POST request, you’ll get a task_id in response. You then poll the status using a GET request to retrieve the final video URL [15][17]. Keep in mind that video URLs expire after 24 hours, so make sure to download them promptly.
"As a developer, I appreciate the clean API and fast response times. Doubao Seedance 2.0 integrates seamlessly into our pipeline." - Alex Wang, Full-Stack Engineer [18]
This seamless integration leads us to the next step: managing costs and selecting the right model.
Pricing and Model Selection
Picking the right model involves weighing quality, speed, and cost. The standard doubao-seedance-2.0 model costs about $0.10 per second of generated video, while the faster doubao-seedance-2.0-fast is around $0.081 per second [7]. For example, a 5-second 1080p clip costs roughly $0.93, while a 10-second clip is approximately $1.97 [17]. If you're using a video reference (Video-to-Video), you’ll get a lower billing rate - about $3.90 per million tokens, compared to $6.40 for standard text-to-video generation [17].
Here’s a tip to save on costs: develop and test at lower resolutions like 480p or 720p, and only switch to 1080p for your final production renders [17]. This can make a big difference during the iterative process.
| Model | Speed | Cost/Second | Best For |
|---|---|---|---|
doubao-seedance-2.0 | Standard (30–120s) | ~$0.10 | High-quality final renders |
doubao-seedance-2.0-fast | Faster | ~$0.081 | Rapid prototyping, drafts |
| Video-to-Video (any model) | Varies | ~$3.90/M tokens | Repurposing existing footage |
Now, let’s look at how to structure your API calls for multi-modal inputs.
Structuring Multi-Modal API Calls
Every API request requires a Bearer Token in the authorization header (Authorization: Bearer YOUR_API_KEY) [15]. You can include up to 12 combined multimodal inputs in a single call, split across three reference arrays: image_urls (up to 9 images), video_urls (up to 3 clips), and audio_urls (up to 3 files) [1][19].
For text-plus-image requests, include your prompt along with an image_urls array. Set size to adaptive to match the aspect ratio of your input image [15][17]. To create audio-synced videos, add audio files to audio_urls and enable generate_audio: true to sync AI-generated audio with the video [15][2]. You can also define the start and end states of a clip using the image_with_roles parameter to specify first_frame and last_frame [15][3]. If you want to chain clips together, set return_last_frame: true to get an image of the final frame, which can then be used as the starting point for the next request [15][17].
Output options include resolutions from 480p to 1080p, with aspect ratios like 16:9, 9:16, 1:1, 4:3, 3:4, 21:9, and adaptive. Clip durations range between 4 and 15 seconds (default: 5 seconds) [15].
Practical Use Cases for Marketing, Education, and Entertainment
Once your API calls are set up and your model is ready, it’s time to see how Seedance 4.0 can shine in real-world scenarios. Whether it’s marketing campaigns, educational tools, or storytelling projects, this platform offers tailored solutions for each.
Marketing Applications
Seedance 4.0 is a game-changer for crafting social media ads in formats like 9:16, 16:9, and 1:1 [1][4].
Here’s a reliable formula for product ads: Subject + Action + Scene + Camera + Style + Audio + Constraints [12]. For instance: "A skincare bottle (@Image1) rotates slowly on a marble countertop, macro lens, soft studio lighting, ambient spa music - no text on screen, no watermarks." Including a high-quality reference image and specifying "stable product shape" ensures the product remains instantly recognizable [12][13].
To make content resonate with U.S. audiences, integrate details like pricing ("$24.99") and a "Shop Now" call-to-action directly into the scene [12]. For user-generated content (UGC)-style ads, use prompts such as "shot on a smartphone", "natural lighting," and "UGC creator" [20]. Always start prototyping at 480p, upgrading to 720p or 1080p only for final production [20][4].
"Seedance 2.0 changes the math... You type a prompt that reads like a storyboard. You get back a clip that looks like a real shoot, with sound." - Paul Grisel, Founder, VIDEOAI.ME [20]
Educational Content Creation
For bite-sized lessons, particularly those 30–60 seconds long, break them into 8–15 second clips and merge them using tools like CapCut or Adobe Premiere [1][5][4]. Each segment can focus on a single concept, such as an introduction, a demonstration, or a conclusion. Use the "lens switch" keyword to create smooth angle transitions [21].
When visuals like diagrams, charts, or instructor portraits are key, start with Image-to-Video mode to ensure the AI sticks closely to the source material [5][12]. For consistency across a lesson series, lock the "virtual teacher" appearance using the @ reference system [1][3][21]. For demonstrations requiring fine details - like chemical reactions or mechanical processes - opt for 2K resolution to keep text and intricate visuals sharp [1][21].
Inclusivity is essential here. Prompts specifying "diverse characters", "natural facial expressions," and "realistic human proportions" can make the content feel more relatable and welcoming for a broad audience [12][20].
These techniques set the stage for even more immersive storytelling opportunities.
Entertainment and Storytelling
Consistency is the backbone of character-driven stories, and Seedance 4.0 ensures this by using 2–4 reference images per character. A mix of front views, three-quarter angles, and waist-up portraits with transparent backgrounds works best [10]. The @ reference system keeps character appearances uniform across scenes, while transparent backgrounds help the model focus on the character instead of distractions in the environment.
For cinematic results, embed camera instructions directly in your prompts. For even more advanced control, cinematic AI video generation tools offer specialized parameters for high-end production. Use phrases like "85mm lens", "shallow depth of field", "dolly-in," or "rack focus" to create clips that feel professionally directed [1][12]. If your scene includes dialogue, enclose it in double quotes (e.g., "She says, 'Remember this moment'") to activate automatic lip-syncing [2].
"Perfect for rapid prototyping. I create Seedance 4.0 AI video mockups of game environments in minutes. The jump from 2.0 to 4.0 is a massive quality leap." - Marcus Thompson, Game Developer [8]
Optimizing and Troubleshooting Seedance 4.0 Workflows
Prompt Refinement Techniques
The quality of your output heavily depends on how well you structure your prompt. A reliable approach is the 6-step formula: Subject, Action, Environment, Camera Movement, Style/Lighting, and Constraints. Aim for prompts that are 50–80 words long - anything shorter than 30 words tends to yield generic results, while prompts exceeding 100 words often lead to overlooked details [10].
Focus on the first 20–30 words, as they carry the most weight in shaping the result. Start with the subject and primary action for clarity [12]. Pay close attention to lighting descriptions - phrases like "golden hour", "rim lighting," or "neon-lit" can dramatically enhance visual quality [22].
"Lighting is the single highest-leverage element in any Seedance 2.0 prompt." - Pixo Blog [10]
Use affirmative language in your prompts. For example, say "sharp edges" instead of "no blur". The model often struggles with negations, so it’s better to describe what you want rather than what you don’t [12].
Technical Parameter Tuning
After refining your prompt, adjusting technical parameters can further improve the output. Two key factors to tweak are resolution and motion strength. Start by prototyping in 480p to finalize motion and framing; then, render your final output in 720p or 2K for better quality [20]. The Fast variant generates a 5-second 720p clip in about 35 seconds, while the Pro variant takes 2–2.5 times longer but delivers a noticeable quality boost [23].
For motion strength, the default setting of 0.7 works well for most scenarios. However, adjust it based on your needs:
- Use 20–30% for portrait-focused clips to avoid facial distortions.
- Opt for 40–60% for wide landscape scenes with dynamic movement.
- Reserve values above 0.85 for cases where dynamic motion is more important than subject clarity [23].
| Parameter | Optimized Setting | Notes |
|---|---|---|
| Resolution | 1080p or 2K (final) | Prototype at 480p to conserve credits [20][1] |
| Motion Strength (Portrait) | 20–30% | Prevents facial distortions [1] |
| Motion Strength (Landscape) | 40–60% | Enables natural movement [1] |
| Prompt Length | 50–80 words | Avoids overlooked instructions [10] |
Once your technical settings are fine-tuned, the next step is troubleshooting any issues that come up during generation.
Troubleshooting Common Issues
Most generation problems stem from common issues like overly complex prompts, conflicting camera directions, or missing reference inputs. Here’s a quick guide to diagnosing and fixing these problems:
| Problem | Likely Cause | Corrective Step |
|---|---|---|
| Character/Face Drift | Too many characters or missing reference image | Tag a mid-body portrait with @Image1; limit to 2 characters max [10][3] |
| Warped Anatomy/Limbs | Motion strength set too high | Lower motion strength to 20–30% and regenerate [1][5] |
| Jittery/Shaky Camera | Conflicting camera moves or vague instructions | Stick to one specific move per shot (e.g., "slow dolly-in") [10][5] |
| Ignored Instructions | Prompt exceeds 100 words | Trim to 50–80 words and prioritize key subjects in the first sentence [10][12] |
| Unwanted Watermarks or Music | Default model behavior | End your prompt with " - No music, No logo, no text on screen" [20][1] |
| Incorrect Aspect Ratio | Mismatch between framing language and ratio setting | Align framing terms with the ratio (e.g., "centered frame" for 9:16) [20] |
To refine your results, adjust one variable at a time - whether it’s the camera angle, lighting, or motion strength. This step-by-step approach makes it easier to identify what works and what doesn’t [22][20]. By combining these troubleshooting tips with earlier optimization strategies, you can achieve consistent, high-quality results with Seedance 4.0.
Conclusion and Key Takeaways
Seedance 4.0 stands out as a powerful video AI tool, thanks to its unified multimodal architecture. By processing text, images, audio, and video in a single pass, it eliminates the hassle of switching between multiple tools. With benchmark scores of 96.1% for subject consistency and 97.4% for motion smoothness on VBench [24], it delivers reliable performance across various workflows.
When paired with APIMart's unified AI API, Seedance 4.0 simplifies video generation for U.S.-based users. Its pay-as-you-go model, starting at approximately $0.93 for a 5-second 1080p clip, offers flexibility without regional restrictions. For teams working on tight timelines, the Fast model tier allows for quick prototyping before committing to high-quality renders, making it ideal for rapid iterations.
To get the most out of Seedance 4.0, follow these best practices:
- Keep prompts concise, between 30–100 words.
- Use the
@system to tag reference assets. - Match your aspect ratio to your input files.
- Enable
return_last_frameto create longer sequences by feeding one clip directly into the next.
These habits help streamline production and ensure seamless output.
Whether you're crafting marketing videos, educational content, or narratives, the workflow remains consistent: start with a clear prompt, prototype quickly, tweak parameters, and finalize your render once the results meet your expectations. This iterative process makes Seedance 4.0 accessible and efficient for creators, regardless of their experience level.
FAQs
How do I keep the same character consistent across multiple clips?
To keep character consistency in Seedance 4.0, stick to the same high-quality reference image labeled @Image1 for all prompts. Use precise and consistent wording in character descriptions, and maintain uniformity in lighting, style, and camera angles. Make sure the character's face remains clearly visible, avoid quick head movements, and generate all clips within a single session to ensure continuity.
What settings should I change first to improve video quality fast?
To improve video quality in Seedance 4.0, tweak these essential settings in the right-side panel:
- Resolution: Opt for 1080p to strike a balance between sharpness and performance.
- Aspect ratio: Align with your platform's requirements (e.g., 16:9 for landscape videos, 9:16 for vertical formats).
- Motion intensity: Set this to normal or medium to prevent overly dynamic movements.
Adjust one setting at a time to see what best suits your video.
How can I turn several 15-second clips into a longer video sequence?
To make a longer video in Seedance 4.0, you can take advantage of two key tools:
- Multishot feature: This allows you to craft a detailed prompt that breaks down multiple "beats" within the 15-second timeframe. For example, you might structure it like this: "0–5s: [description], 5–10s: [description]."
- Seamless extension feature: Upload your existing clips and use conversational commands to extend the sequence either forward or backward. This tool ensures that the lighting and character identity remain consistent throughout the video.
Choose the model you want in the model marketplace
Try chat, image and video models in the APIMart model marketplace, and experience model capabilities quickly with one unified API.